طريقة برمجة كاميرا اللمبة V380 PLUS
V380 IP Camera User Manual
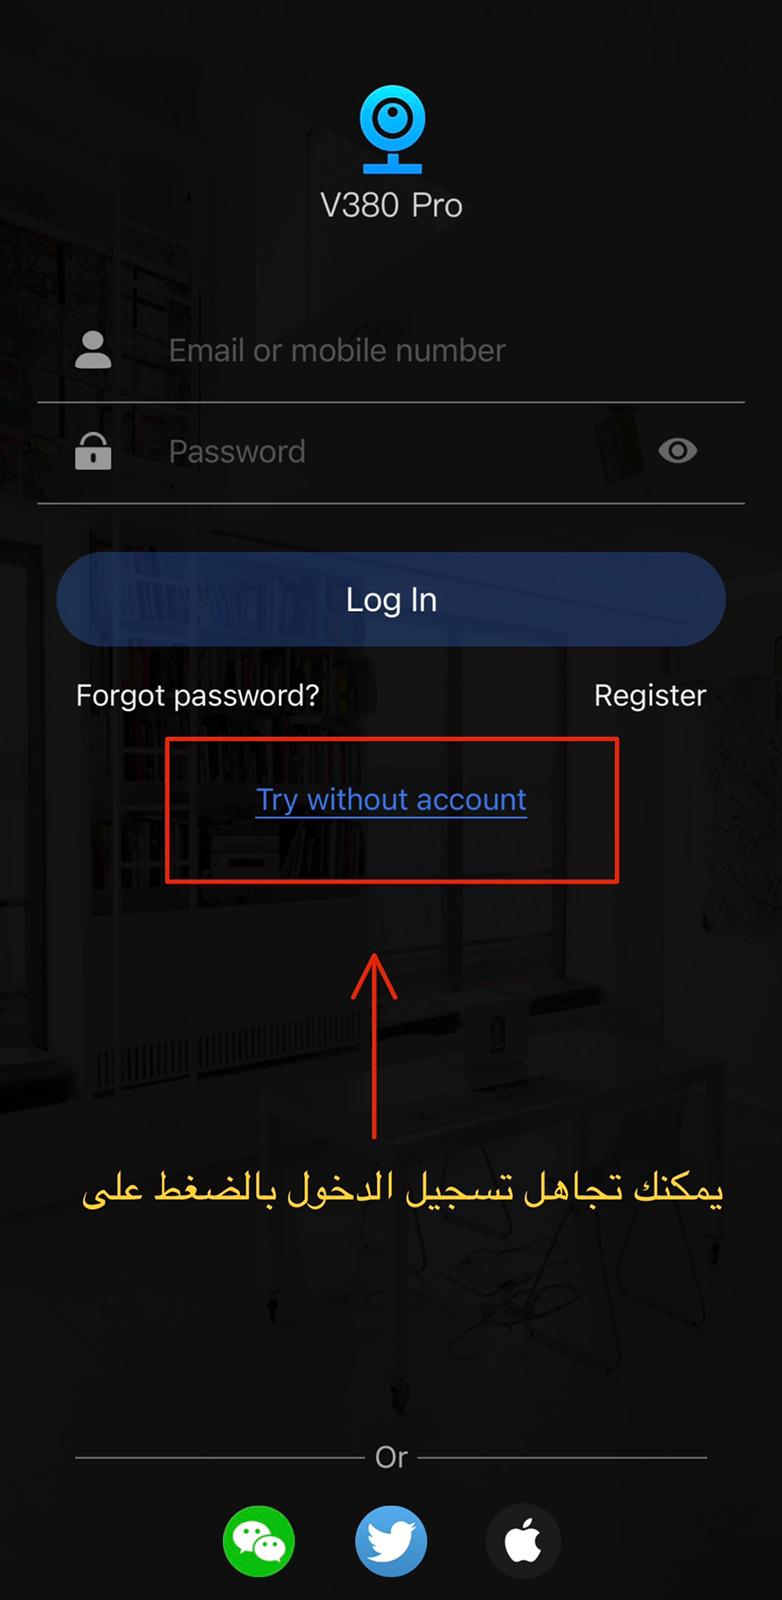
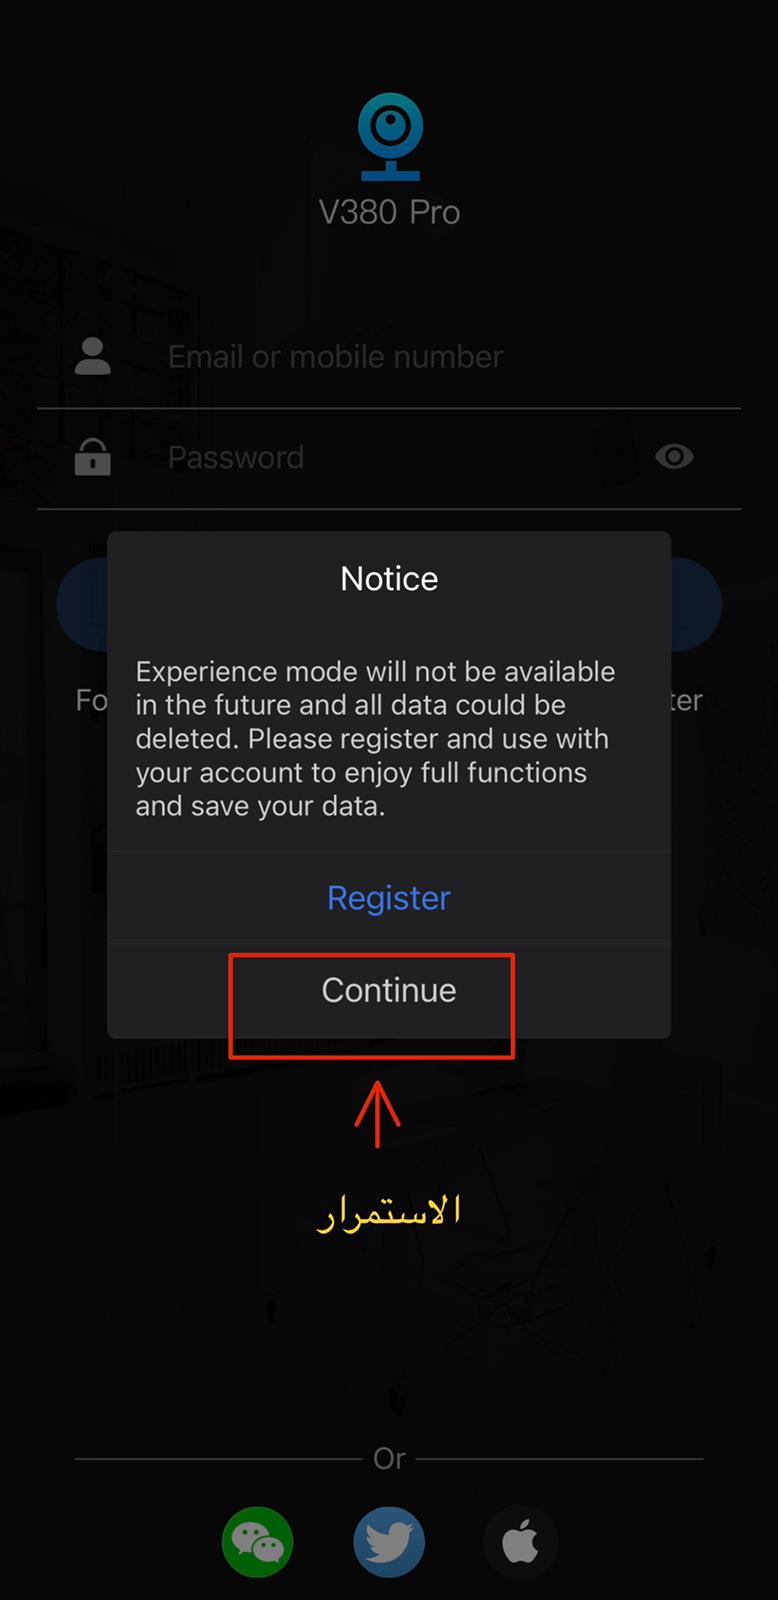
1. Download the APP “V380”, install and register.
Register an account by phone number or Email. We recommend using mobile phone registration, sometimes the mailbox can not receive verification information.
2. Add and Delete a New Device
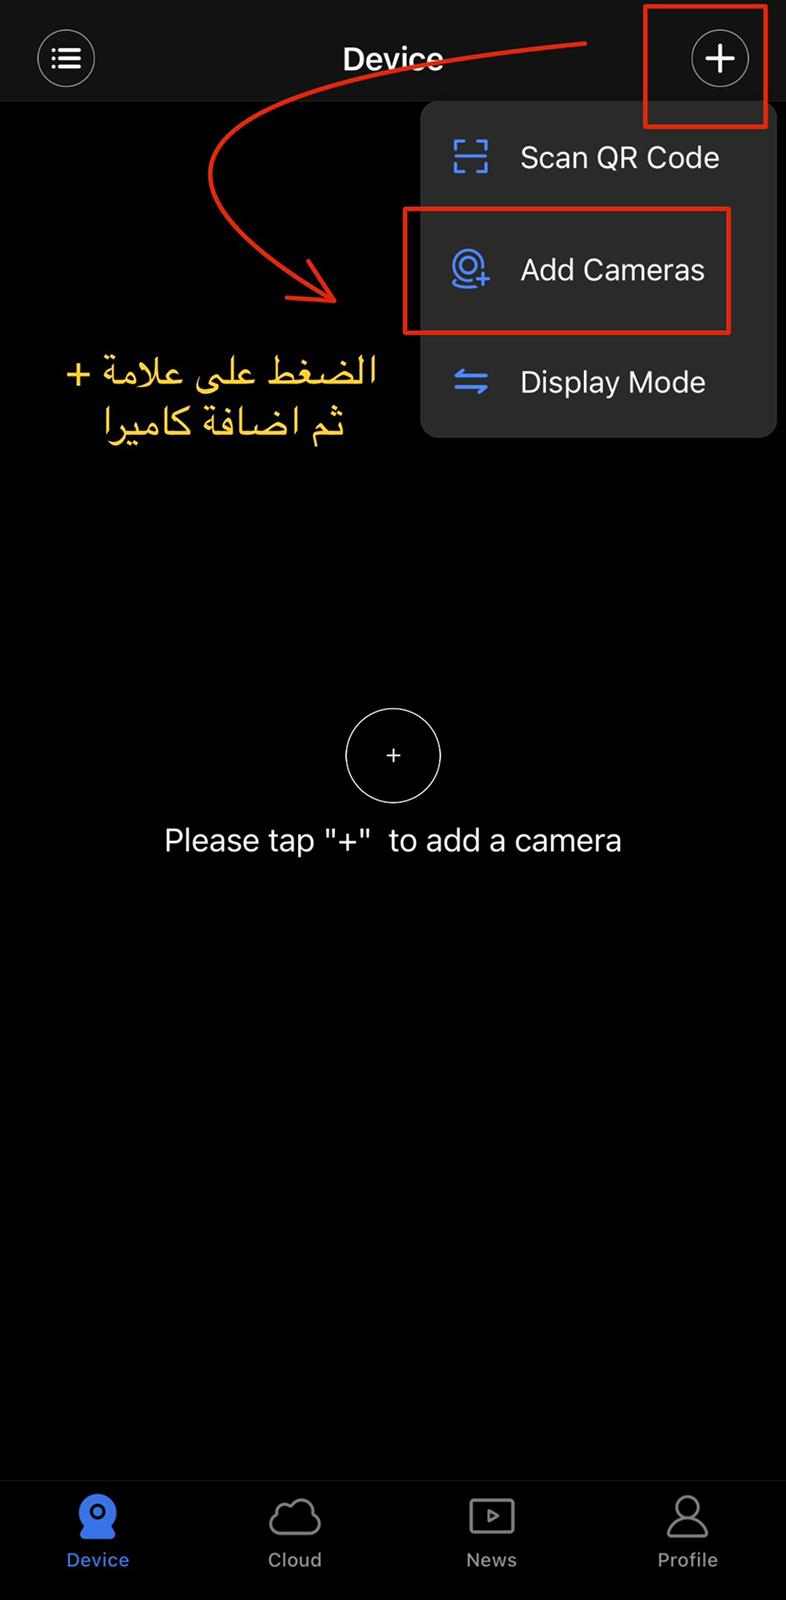
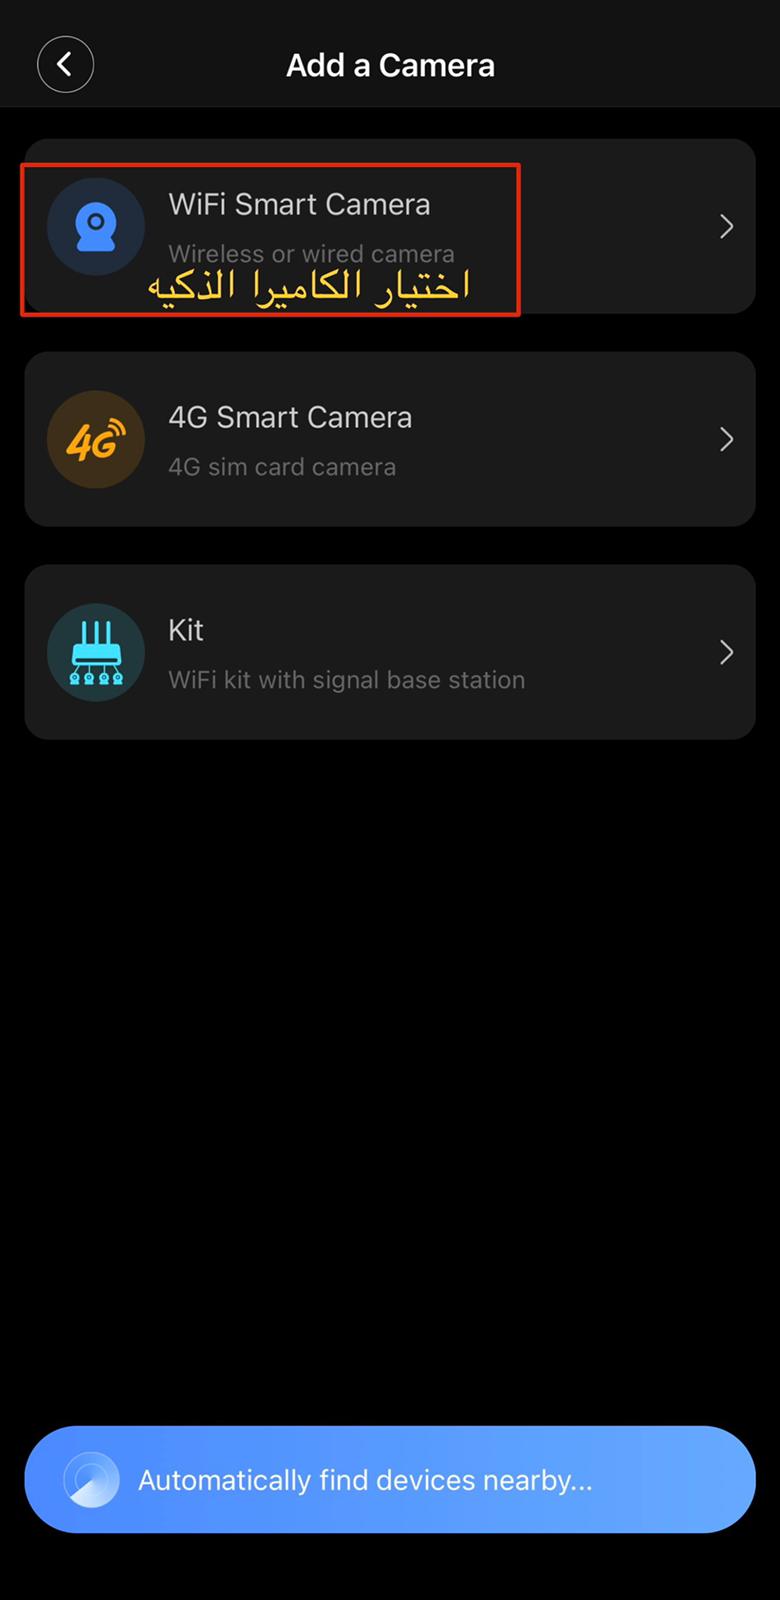
1). Add a new device
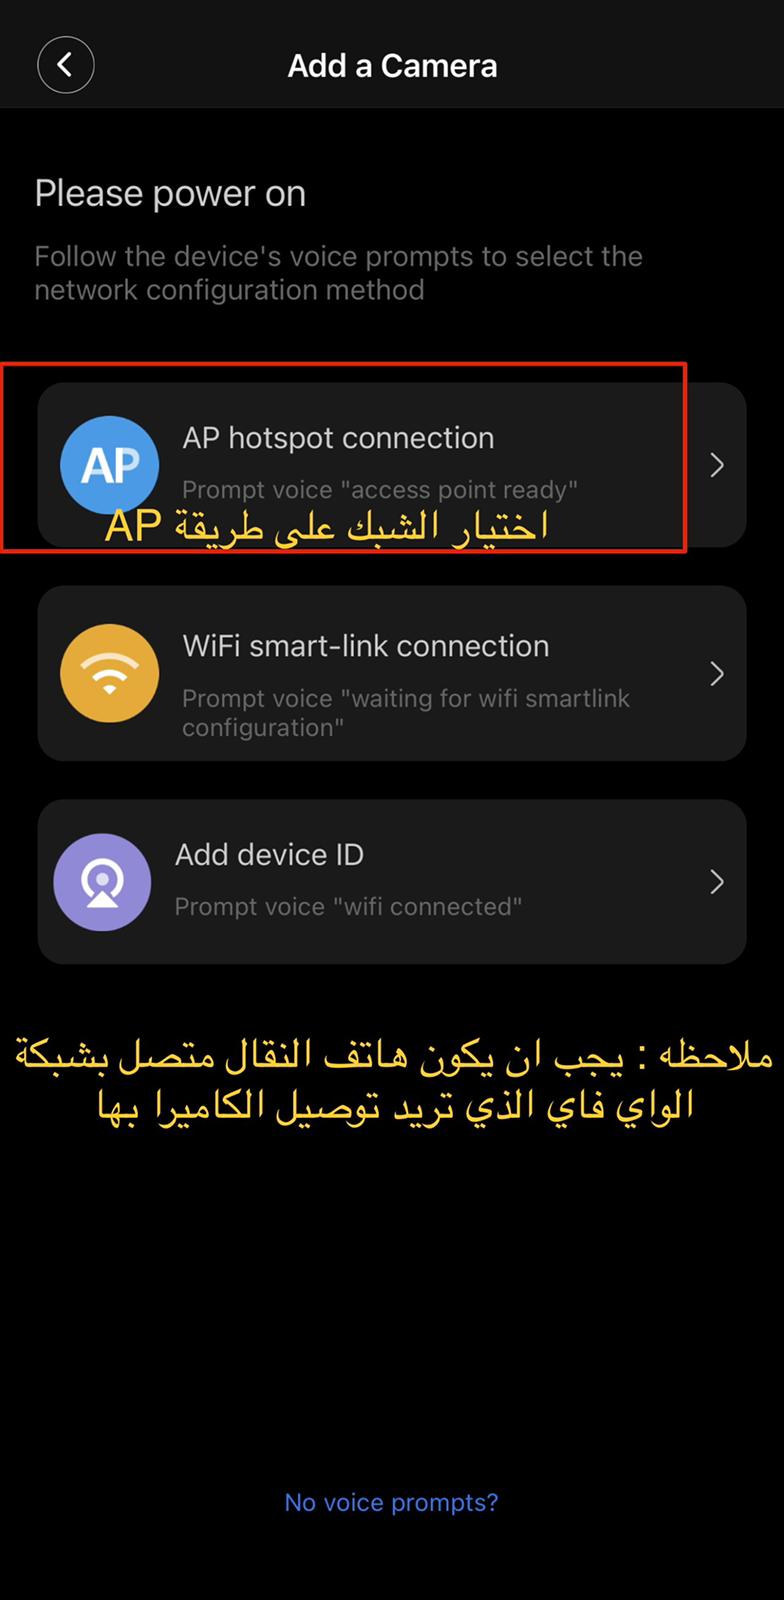
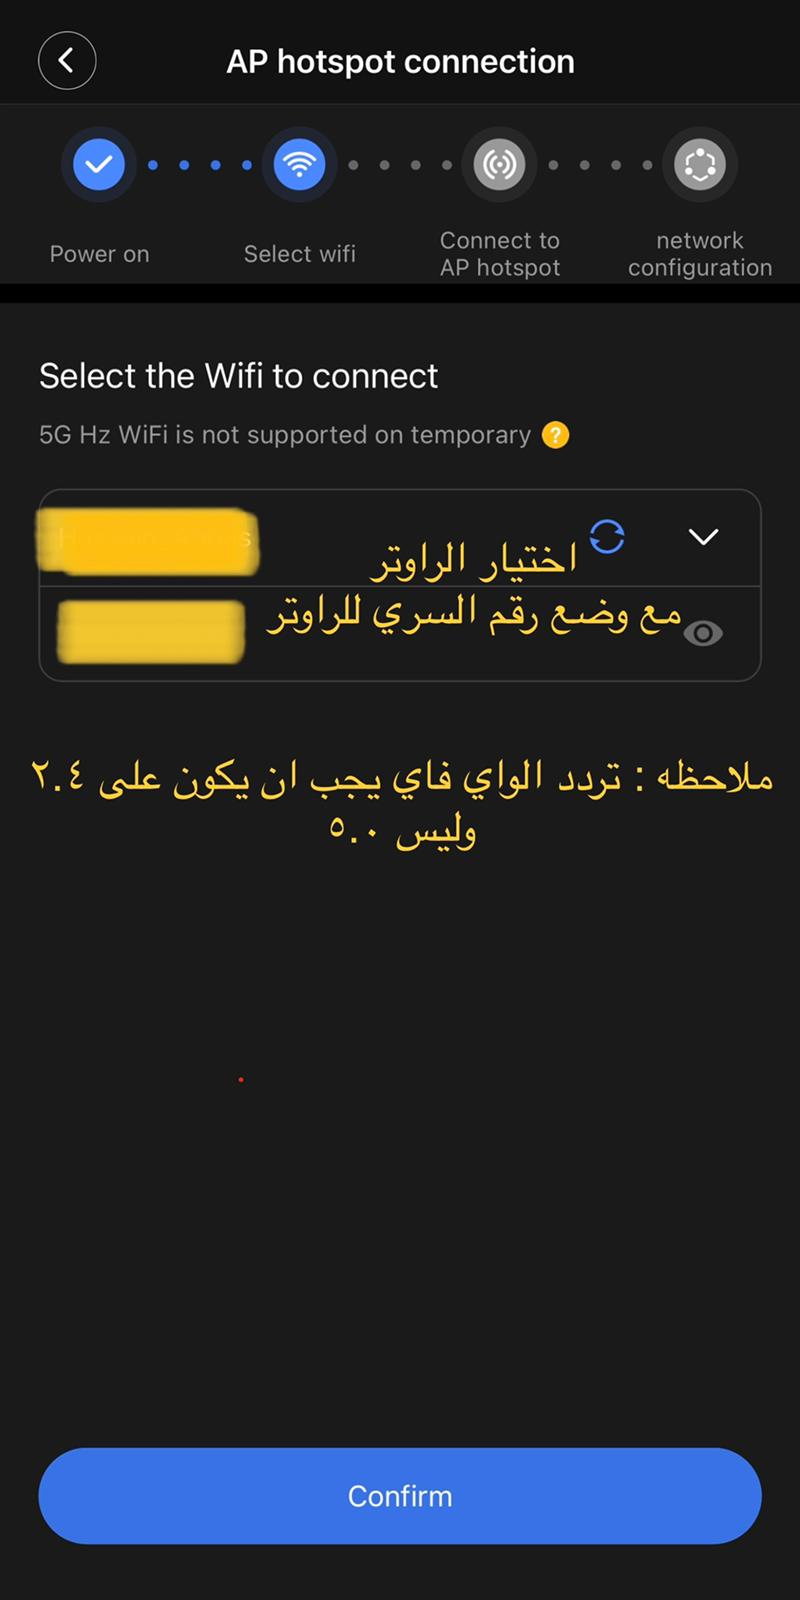
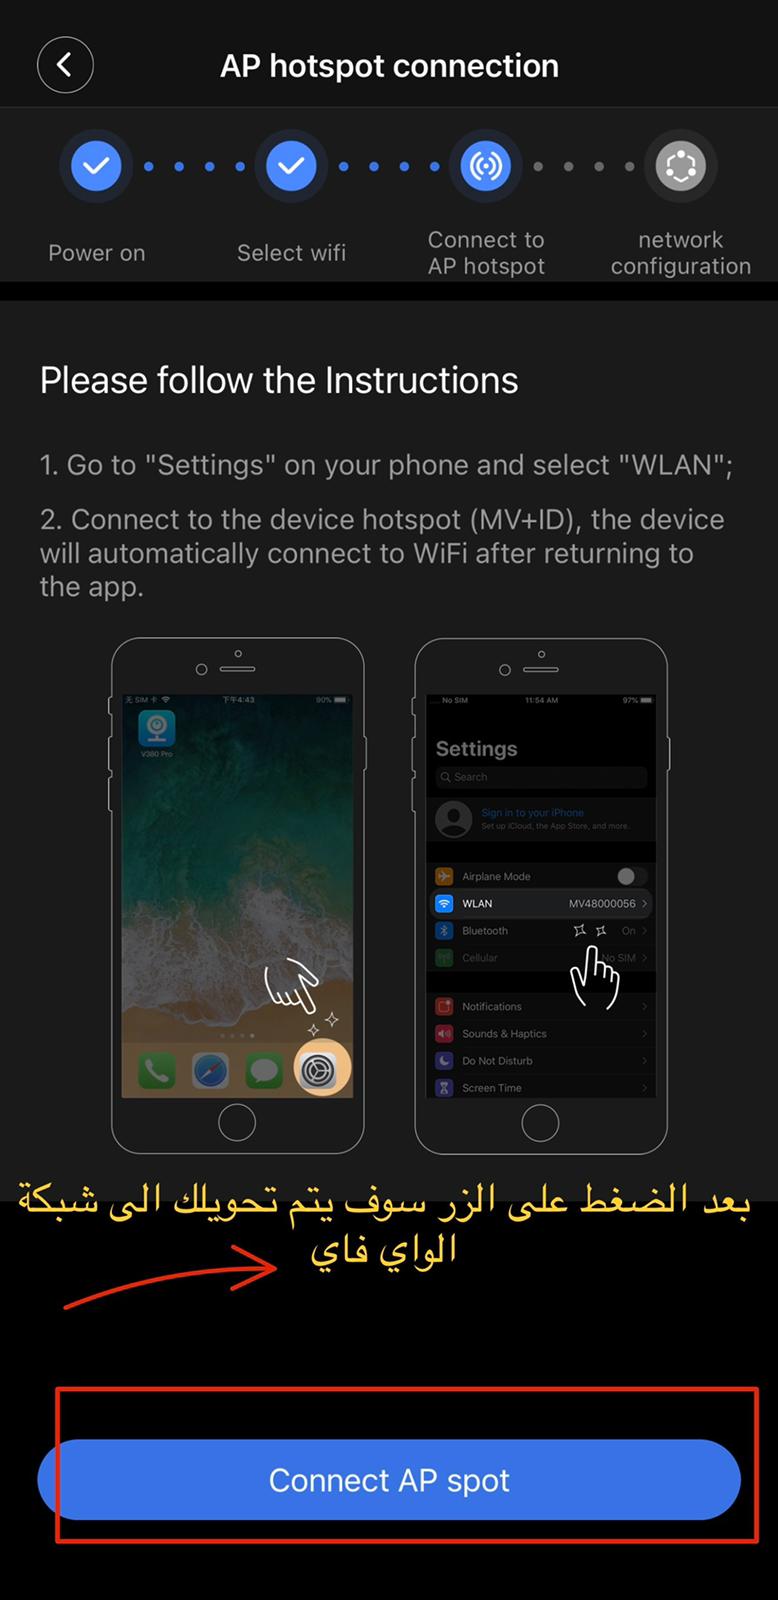
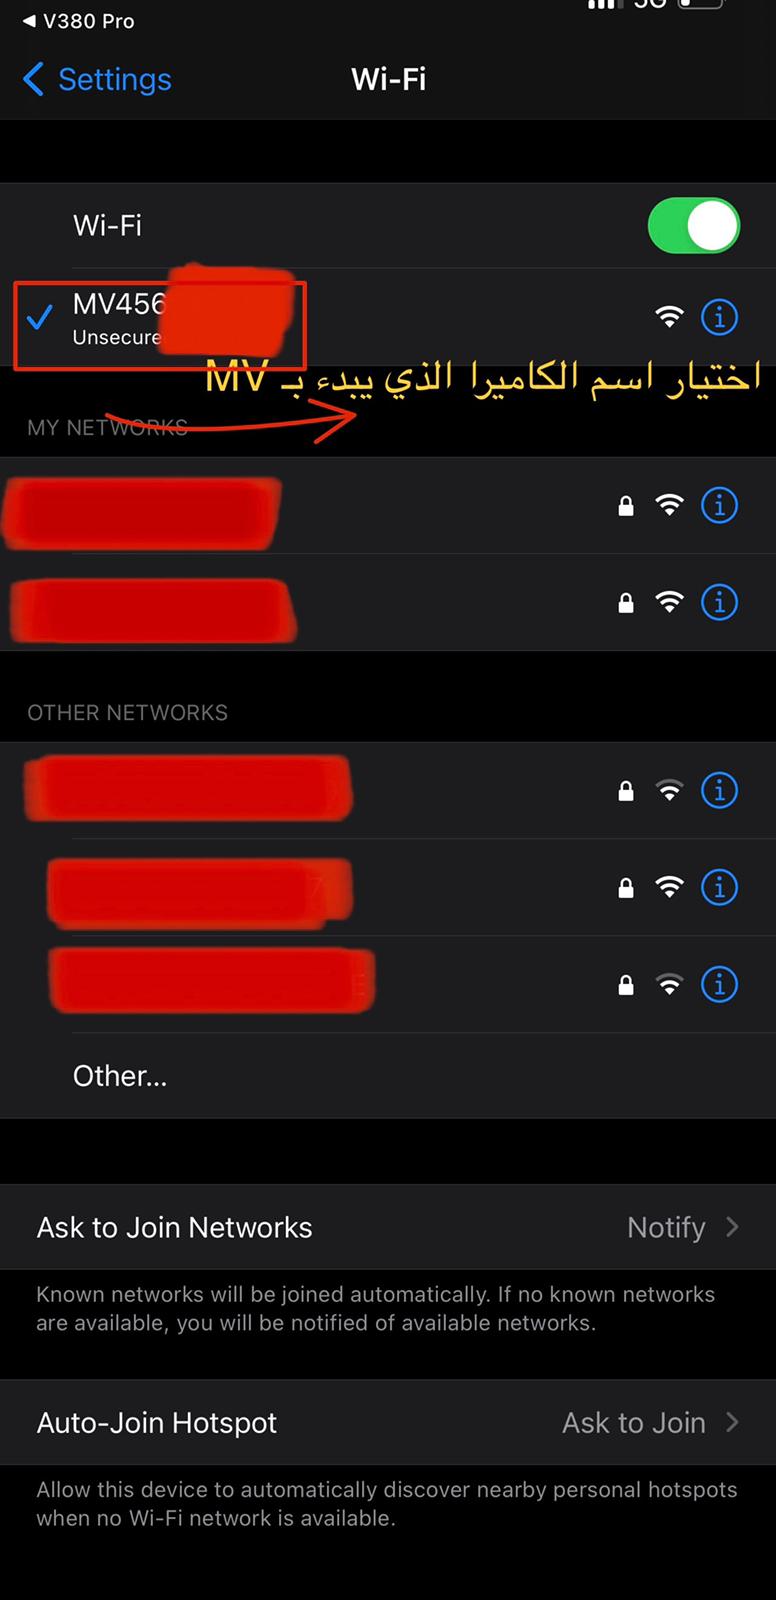
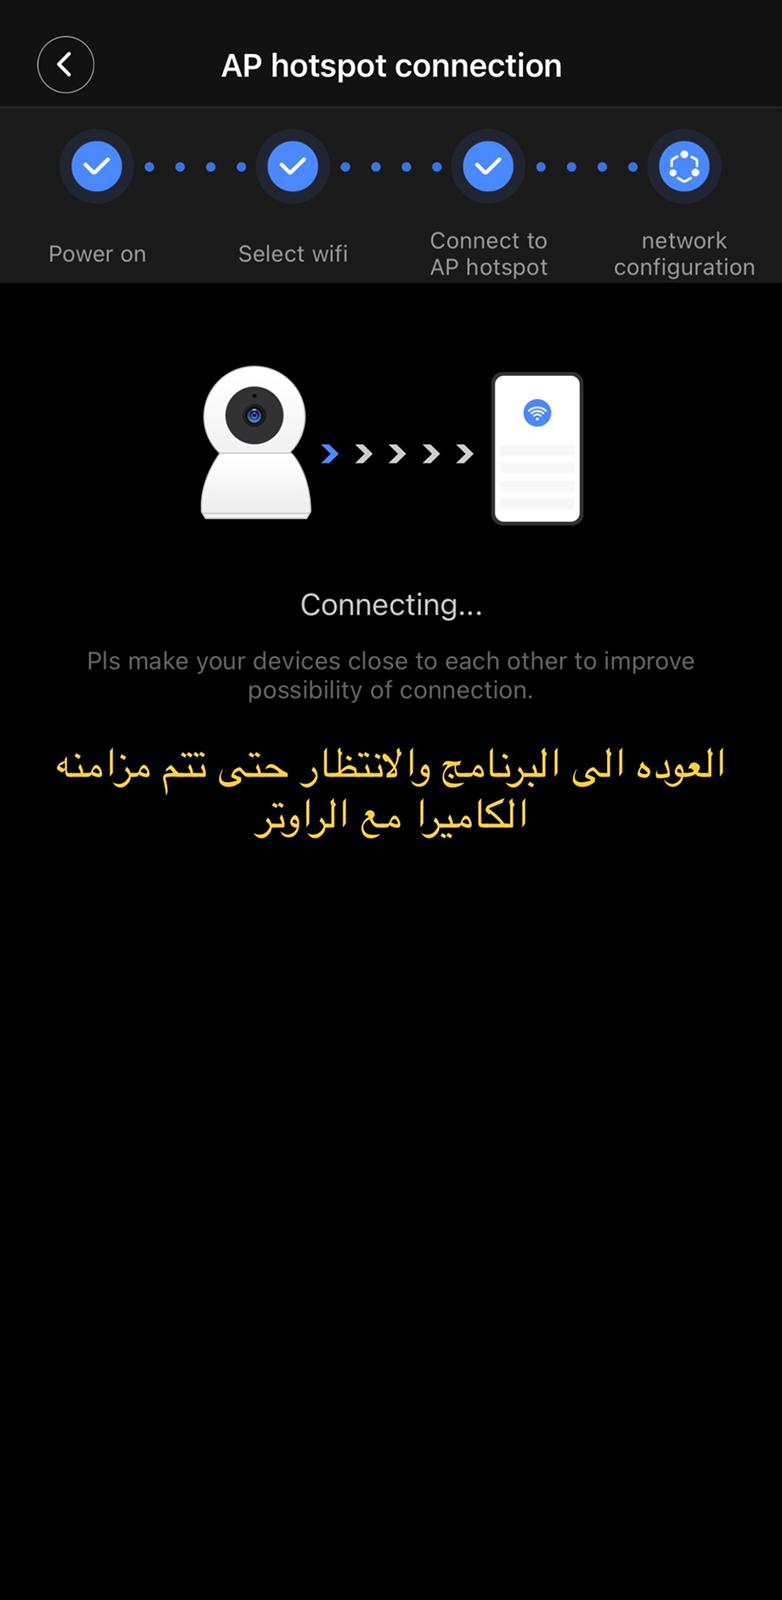
Press "+" to add a new device. V380 helps new starters to connect the camera to WIFI easily. Power on the new camera, enter WIFI SSID & password (the same WIFI as your smartphone has connectedto). Wait for connection.
After hearing a ding sound from the camera, its net indicator lightturns on. The camera connects to WIFI successfully.
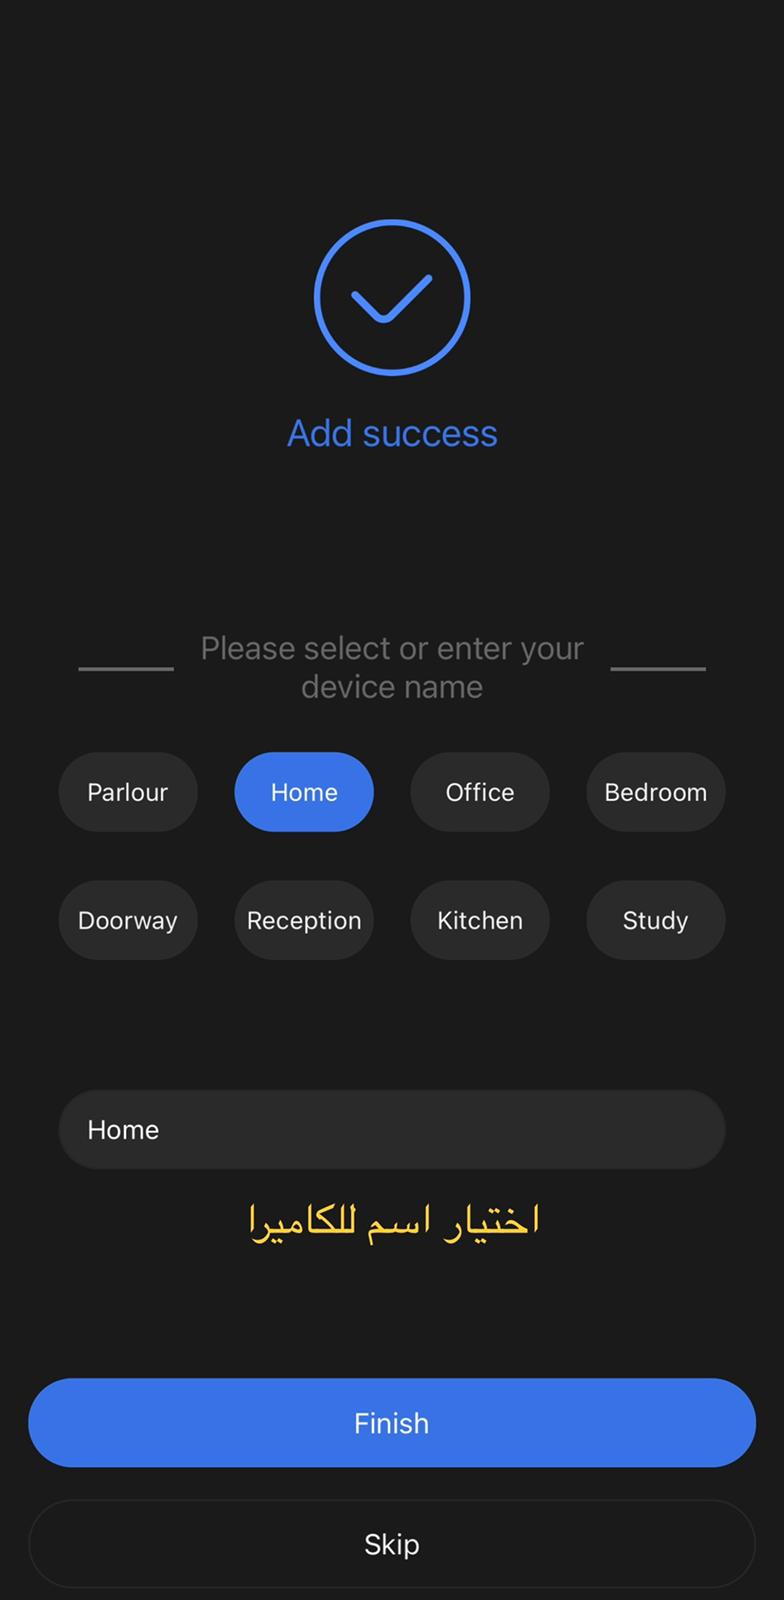
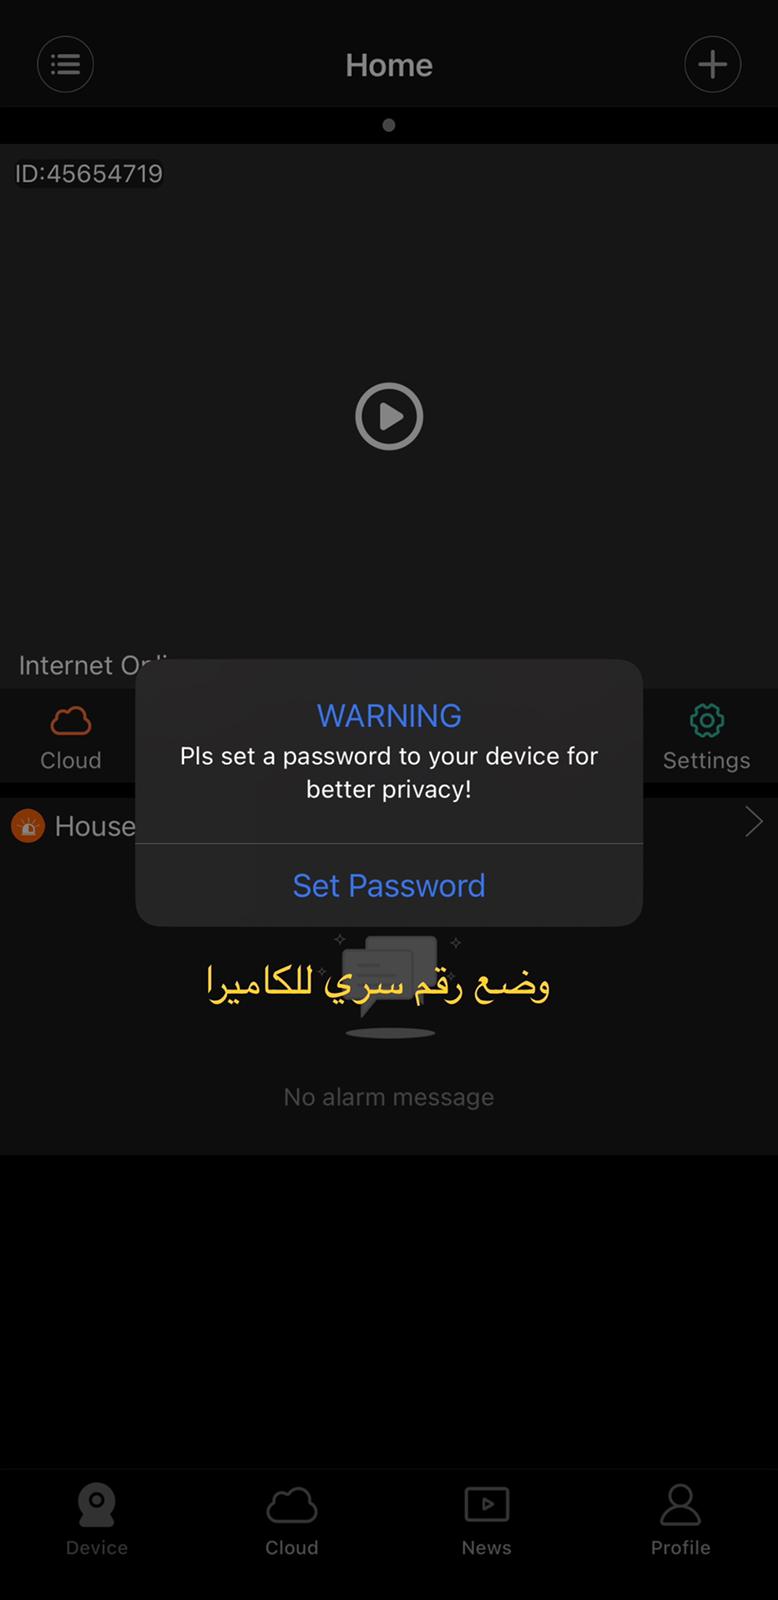
Name the camera whatever you like, for example “V380123”, enter its password”123456” (default). Press. The camera is online.
2). Add a new device by QR code.
More →Add camera by QR Code →Enter WIFI SSID & password →Next, a QR
Code emerges, scan the QR code →Heard, wait for connection → Connected
(NET indicator light on), enter the password of the camera(default 123456)
→Save the device→It is online.
3). Manual Add
This is used to add a new camera that is already on line. (Which means the camera has already been connected to WIFI, and you know the ID and password of the camera .)
4). Delete a device
Android - - - - - - Long - press the camera that is to be deleted, a prompt comes out, press OK.
IOS - - - - - - Choose the camera , slide to left to delete.
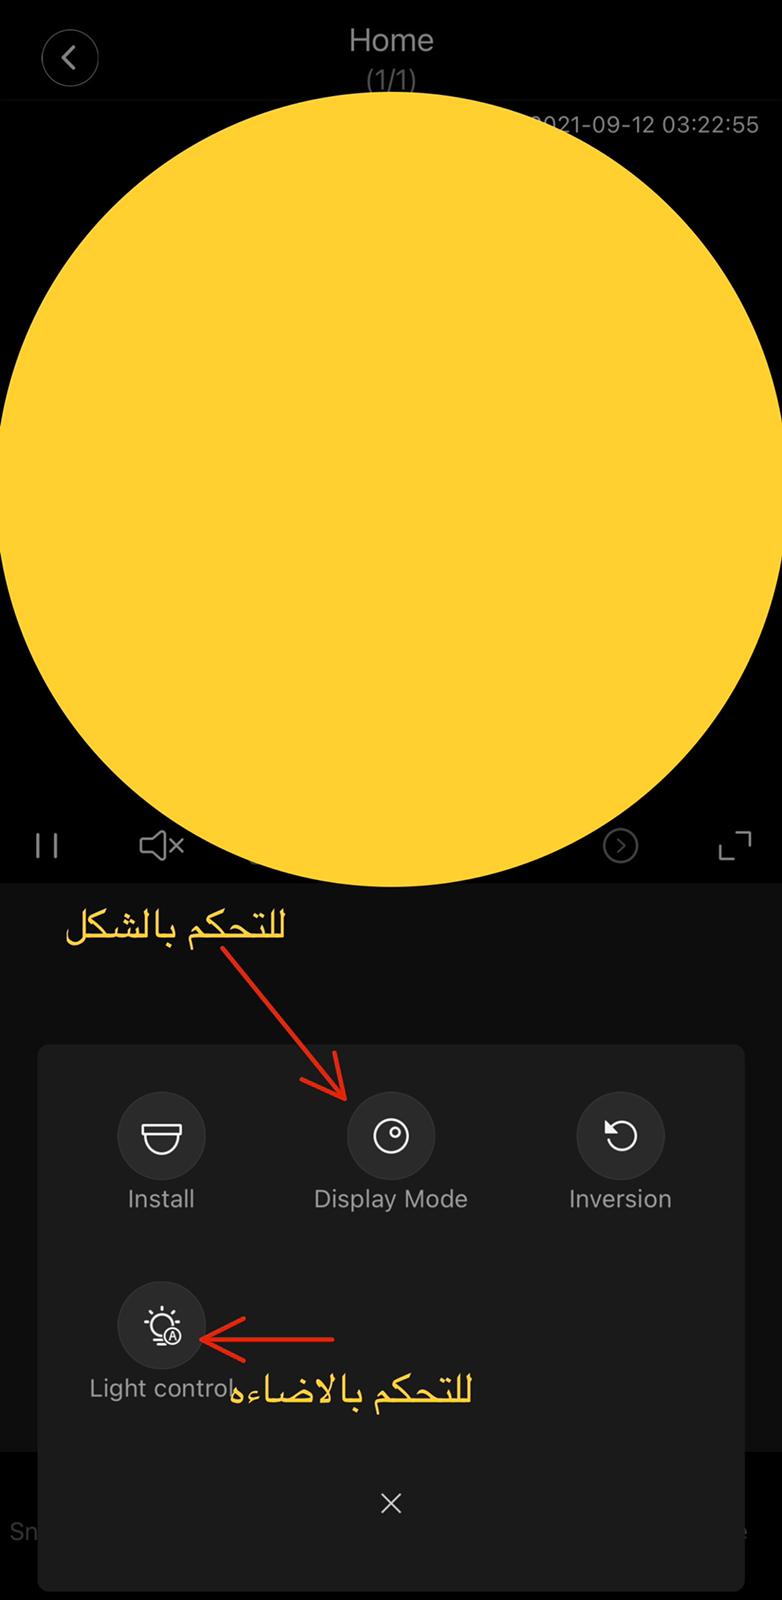
3. Live - view and its settings
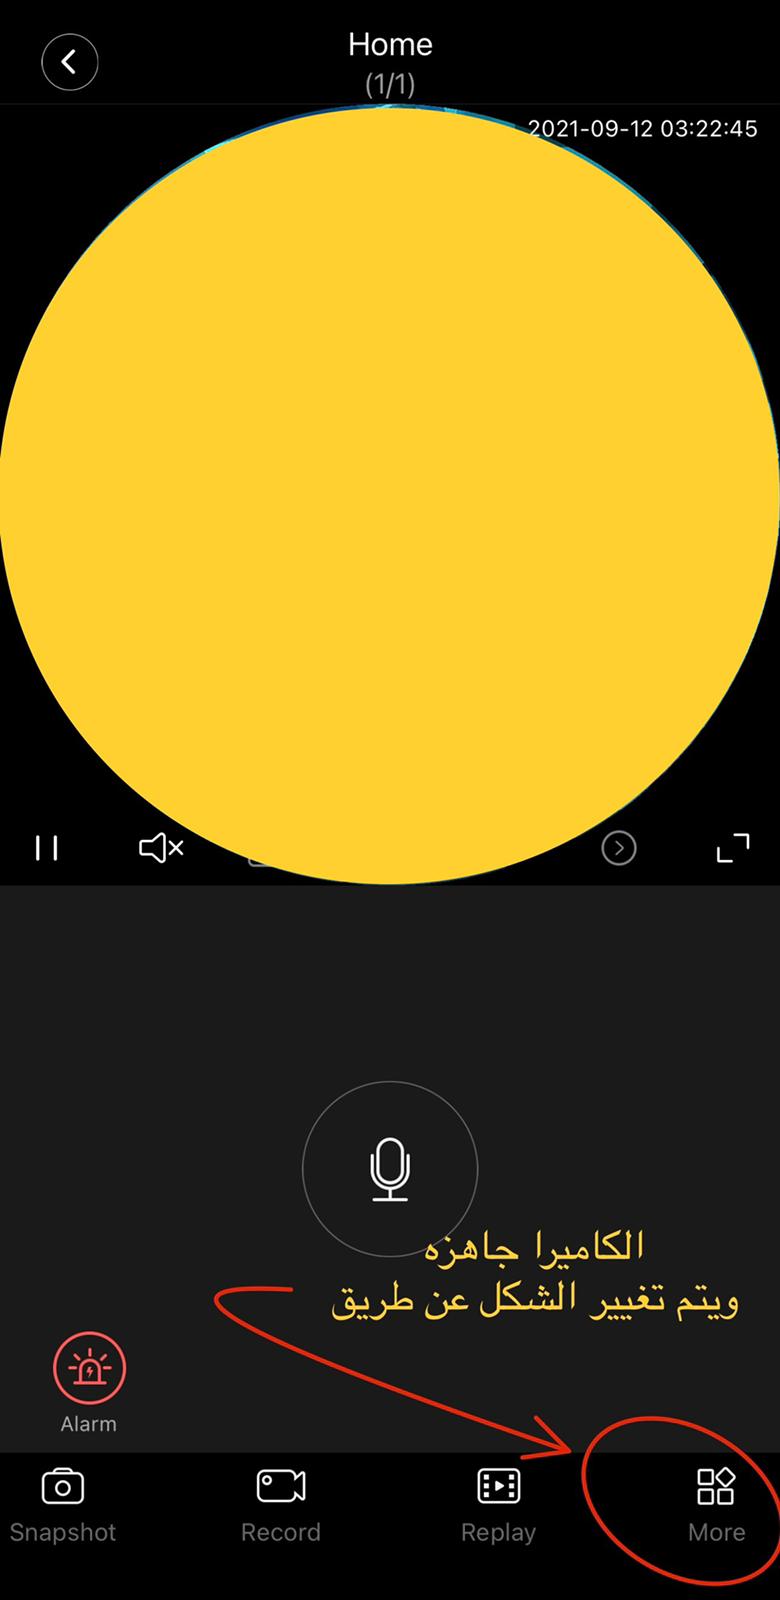
Click to live view
Attention: Position preset is a very practical function.
【DO NOT hand-rotate the head of the camera!!】
Rotate the camera on phone app to the place you want ,then press button 1, press OK. A camera can support 5 positions preset.
4. Alarm Settings
1). Defence Area Learn code with other alarm detectors The camera can support max. 64 channels of wireless alarm detectors. All the external detectors must learn code with the camera before normal use.
For example, to set up a door sensor as the first detector of the hall, choose the hall, click button “1”, press“OK” to code. Trigger the door sensor, the camera will remember the code and learning is successful. There is a blue left to button “1”.
Binding preset can be done here. Press “OK” and make the doors ensor in position 1. It means the door sensor is set to be in position 1 preset.
2). Alarm Settings
3). Alarm pushing settings
4). If you set the right alarm pushing but can not receive alarm messages, try to check here.
Set alarm in terval (default 10s)。Check if you blo cked the camera. If yes, just delete it, then you can receive alarm messages.
5. Record Settings
Plug in the SD card when the camera is power off. Normally the SD card is with capacity 8-32GB, max 128GB (If the SD card capacity is above 32GB, please format the SD card on PC as FAT32 first.) SD card in and working well------ record indicator lights on Recording ------record indicator flickers